Spars and Rigging
|
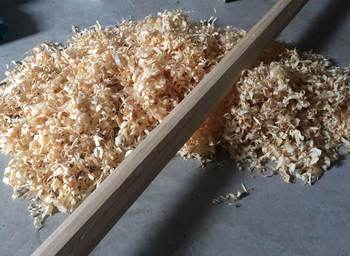
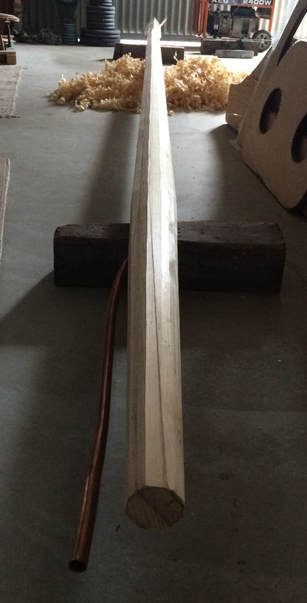
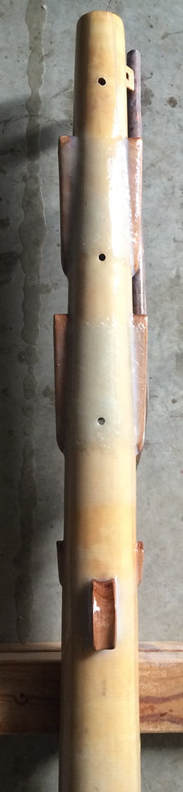
The mast roughed out from a blank of laminated hoop pine. The copper pipe is a lightning conductor which will be earthed (or oceaned) to the lead ballast. Will it work if needed? No idea, but better to give myself whatever slim chance is possible at the small expense of more weight aloft. Besides, now I have I nice tube through which to lay in coax and electrical cable.
|
|
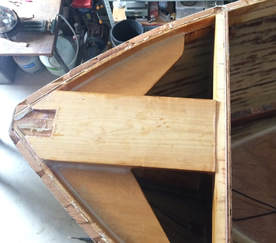
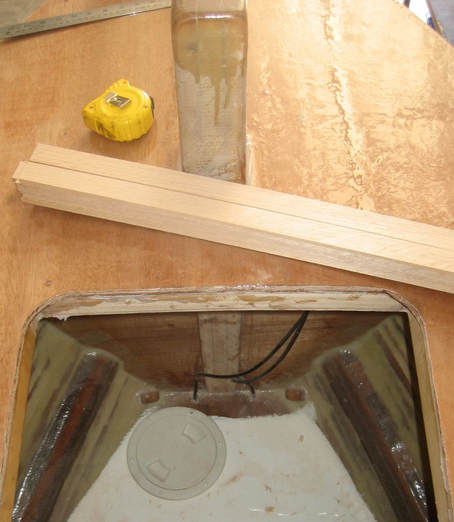
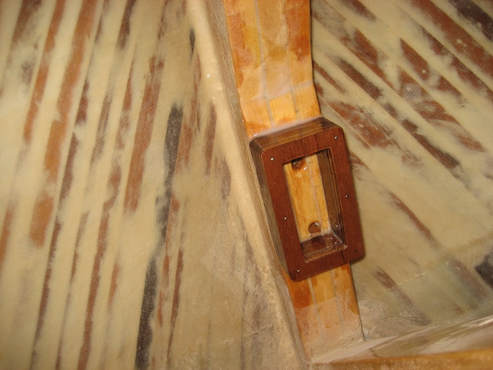
To hold the mast up will be, among other things, a forestay. The forestay is attached to the bowsprit. The bowsprit attaches to ? Whatever it is it had better be strong. This happy snap shows part of a 'king plank' bonded to the breasthook under, and the whole backed up by a deck beam and bulkhead. More work to go, but this is starting to provide a suitable something for the bowsprit to sit on. After the bulkhead there will also be a samson post which will provide additional support to the heal of the bowsprit.

Why this image imports the wrong way up, I don't know. I could waste more time figuring out how to orient it another way... or... you could save me the trouble and agree to stand on your head if the up side downness of this image bothers you. OK? Cool, thanks.
Oh... by the way... this is the above mentioned post, hereby named Sam.
Oh... by the way... this is the above mentioned post, hereby named Sam.
A view of the samson post after installation. The lower part of the post can been seen through the forehatch bonded and bolted in place. Even the Kraken will be hard pressed to dislodge this post... though I hope never to witness his attempt. The above decks portion is about a foot high and seems about right for a bollard hitch in 12 to 14 mm line. Probably two rodes could be comfortably belayed in this fashion.
And... this is the stem, forward of the bulkhead mentioned above. The stem is is nice and solid, and actually not really needed for this type of construction, but I like knowing that sailing straight through anything that gets in my way won't be a problem. More importantly, I will eventually need to attach the bobstay to something, and the stem provides plenty of meat for the lower bobstay fitting.
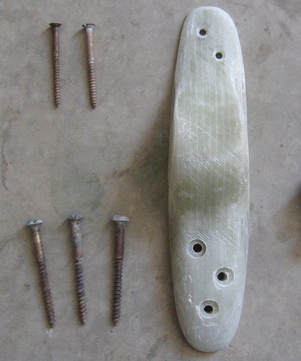
As an aside... I've been scratching my head for some time thinking about that lower fitting... it sits in a really nice place for crevice corrosion if made of metal. Is silicone bronze immune? Even if it is, silicone bronze is pretty rare stuff in Australia. Hmmm... what to do?
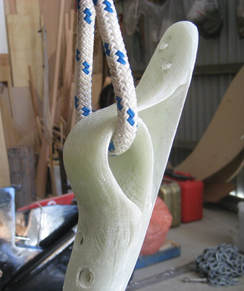
So I experimented with glass and epoxy resin and came up with a fitting shown in the next series of photos.
As an aside... I've been scratching my head for some time thinking about that lower fitting... it sits in a really nice place for crevice corrosion if made of metal. Is silicone bronze immune? Even if it is, silicone bronze is pretty rare stuff in Australia. Hmmm... what to do?
So I experimented with glass and epoxy resin and came up with a fitting shown in the next series of photos.
|
|
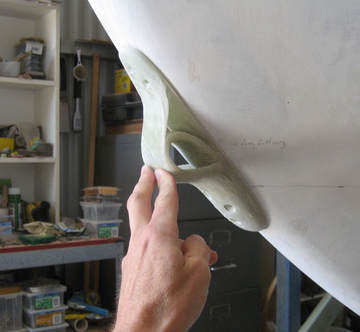
The fibreglass fitting above seems pretty strong, however... I just don't really like it. It avoids metal at the waterline which is great, however... I don't know... what do you think? Seems pretty ugly to me.
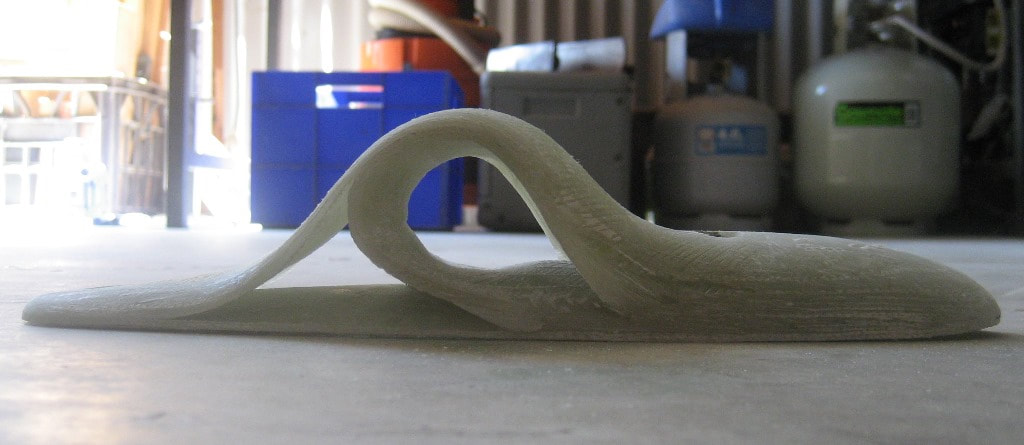
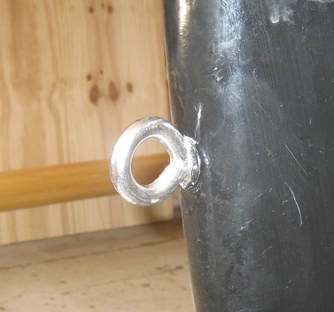
Even a simple eye bolt as modeled here by my Paradox, Small Fry, would be less ugly than the frozen snot contraption above. Any eye bolt is metal, but at least not actually permanently immersed.
I am not decided what to do yet... maybe I should just stick with a traditional approach like a bronze chainplate. The helpful blokes over on WBF tell me their metal fittings have held up fine for many years.
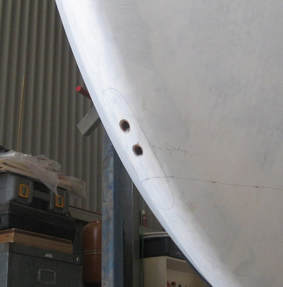
Further consideration of the fibreglass object above led me to have a decisive 'yeah nah' moment and I went back to the drawing board. Inspired by a discussion over at WBF I gave thought to a suggestion to bore a hole sideways through the stem allowing a synthetic bobstay to be passed directly through the hole, out the other side, and spliced back into its self to form an eye around the stem. The simplicity of the idea is attractive. My version is slightly modified in that I didn't bore sideways, I bored a hole, two in fact, in a fore and aft direction in order to take maximum advantage of the 7 inch moulded dimension of the stem timber (a lot more hefty than the 3 inch sided dimension).
Having bored holes from near the waterline through to the inside of the hull of course has the drawback that now my boat may fill with water where I would prefer no water to enter. The solution can be seen in this picture in which I have built a splash box with removable watertight lid (removed in this picture) such that the inside of the hull can once again be watertight. Any water entering one of the stem holes can go no further than the splash box and will drain the same way it entered.
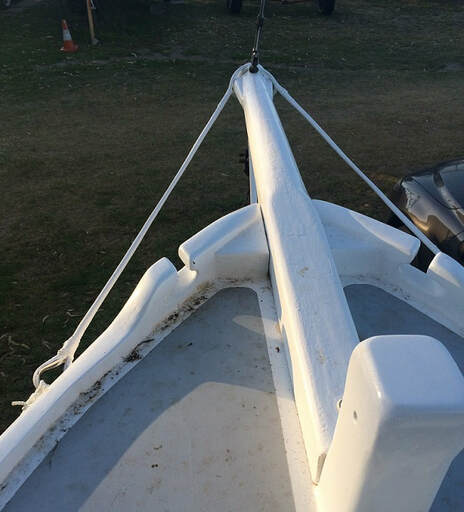
A glimpse of some standing rigging made from 6mm heat treated UHMWPE, fully served with polyester lacing, and painted with a single pack alkyd to protect from UV light. The rigging is painted white due to the low heat tolerance of the synthetic rigging. It would have looked better black, but I fear the Australian sun would cook it in short order.
